In today’s digital age, repurposing content across multiple platforms is a key strategy to reach a broader audience. If you’re a blogger looking to expand your reach, one of the most effective ways is to convert your written content into a video format and share it on YouTube. You might think this requires advanced skills or complicated software, but if you have an iPhone and an iMac, you can create a professional-looking video in just a few simple steps. Here’s how you can do it.
Step 1: Turn Your Blog Post into a Voiceover
The first step is to create an audio narration of your blog post. Thankfully, both your iPhone and iMac come equipped with a built-in text-to-speech feature called VoiceOver, which can read aloud any text you select. Here’s how you can use it:
- Enable VoiceOver: On your iPhone, go to Settings > Accessibility > VoiceOver and toggle it on. If you’re on an iMac, go to System Preferences > Accessibility > VoiceOver and enable it.
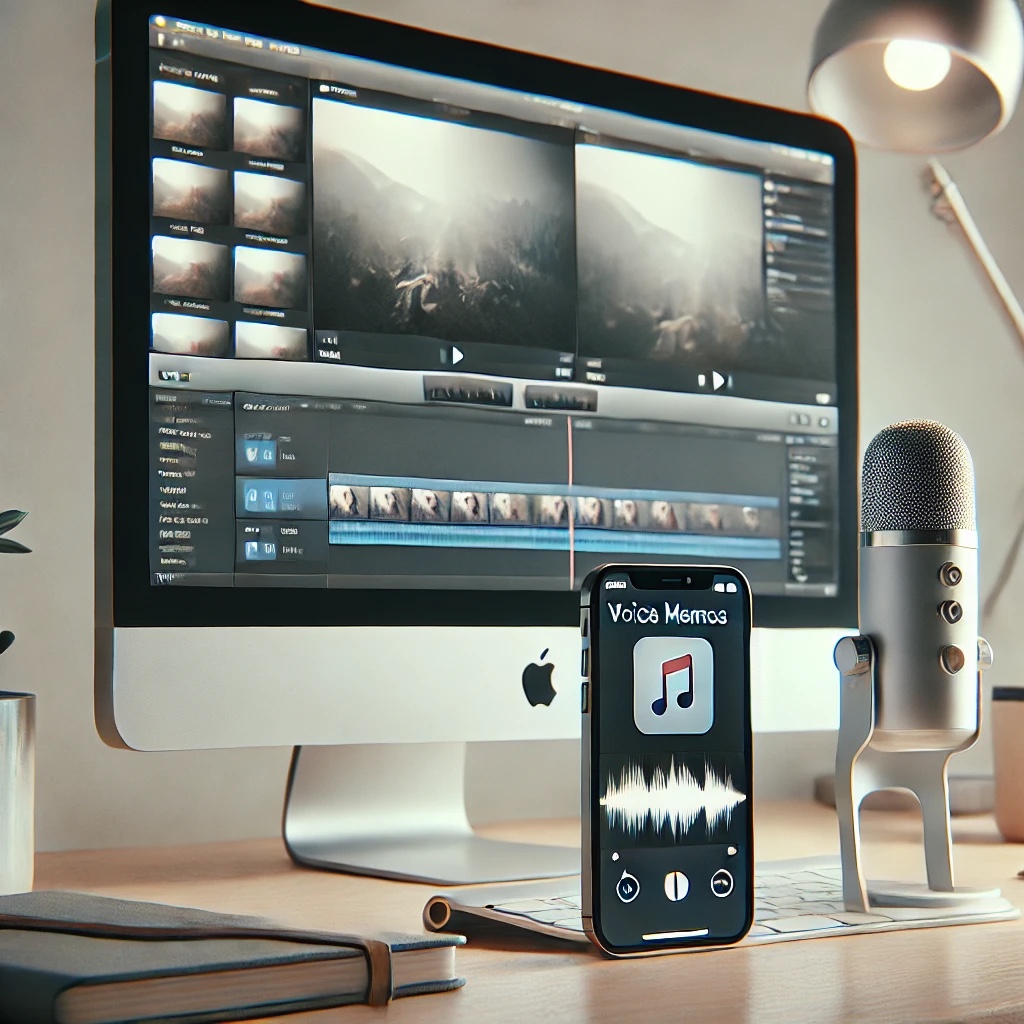
- Record the Audio: You can record the VoiceOver reading your blog post using the Voice Memos app on your iPhone or QuickTime Player on your iMac. This will give you a clean audio file that you can use as the narration for your video.
Step 2: Create the Video Using iMovie
Now that you have the audio, it’s time to put together the video. iMovie, which comes pre-installed on both iPhones and iMacs, is the perfect tool for this task. Here’s how you can create your video:
- Start a New Project: Open iMovie and start a new project. Whether you’re on your iPhone or iMac, the process is similar.
- Add a Static Image: Choose a key image related to your blog post—this could be a featured image or a relevant visual. Import this image into iMovie as the background for your video.
- Include the Voiceover: Import the audio file you recorded earlier. Simply drag and drop it into your iMovie project.
- Add Subtitles: Subtitles can make your video more accessible and engaging. In iMovie, you can add text to your video by selecting the “Titles” option. Manually enter the text of your blog post and align it with the timing of your audio.
- Adjust and Finalize: Ensure that the subtitles match the pace of the narration, and make any final adjustments to the timing or placement of the text.
Step 3: Upload to YouTube
Once your video is ready, the final step is to share it with the world. You can easily upload your video to YouTube directly from your iPhone or iMac:
- On iPhone: Open the YouTube app, tap the “+” button, select “Upload a video,” and choose your newly created video.
- On iMac: Open YouTube in your web browser, click on the “Create” button, and follow the instructions to upload your video.
Conclusion: Simple Yet Effective
Creating a YouTube video from your blog content doesn’t have to be time-consuming or require complex tools. By using just your iPhone and iMac, you can easily produce a video that not only broadens your reach but also enhances the value of your original content. With just a few steps—recording your blog text, combining it with a static image in iMovie, and adding subtitles—you’ll have a professional-looking video ready to share on YouTube.
So next time you finish a blog post, consider turning it into a video. It’s a simple process that can significantly expand your audience and give your content a new lease on life.
